

Description
This kit requires a significant amount of electronics assembly expertise to assemble correctly. If your device is non-functioning as a result of inadequate assembly, we cannot provide warranty service to you. For more information, please see our warranty, as well as this primer on our warranty and testing processes.
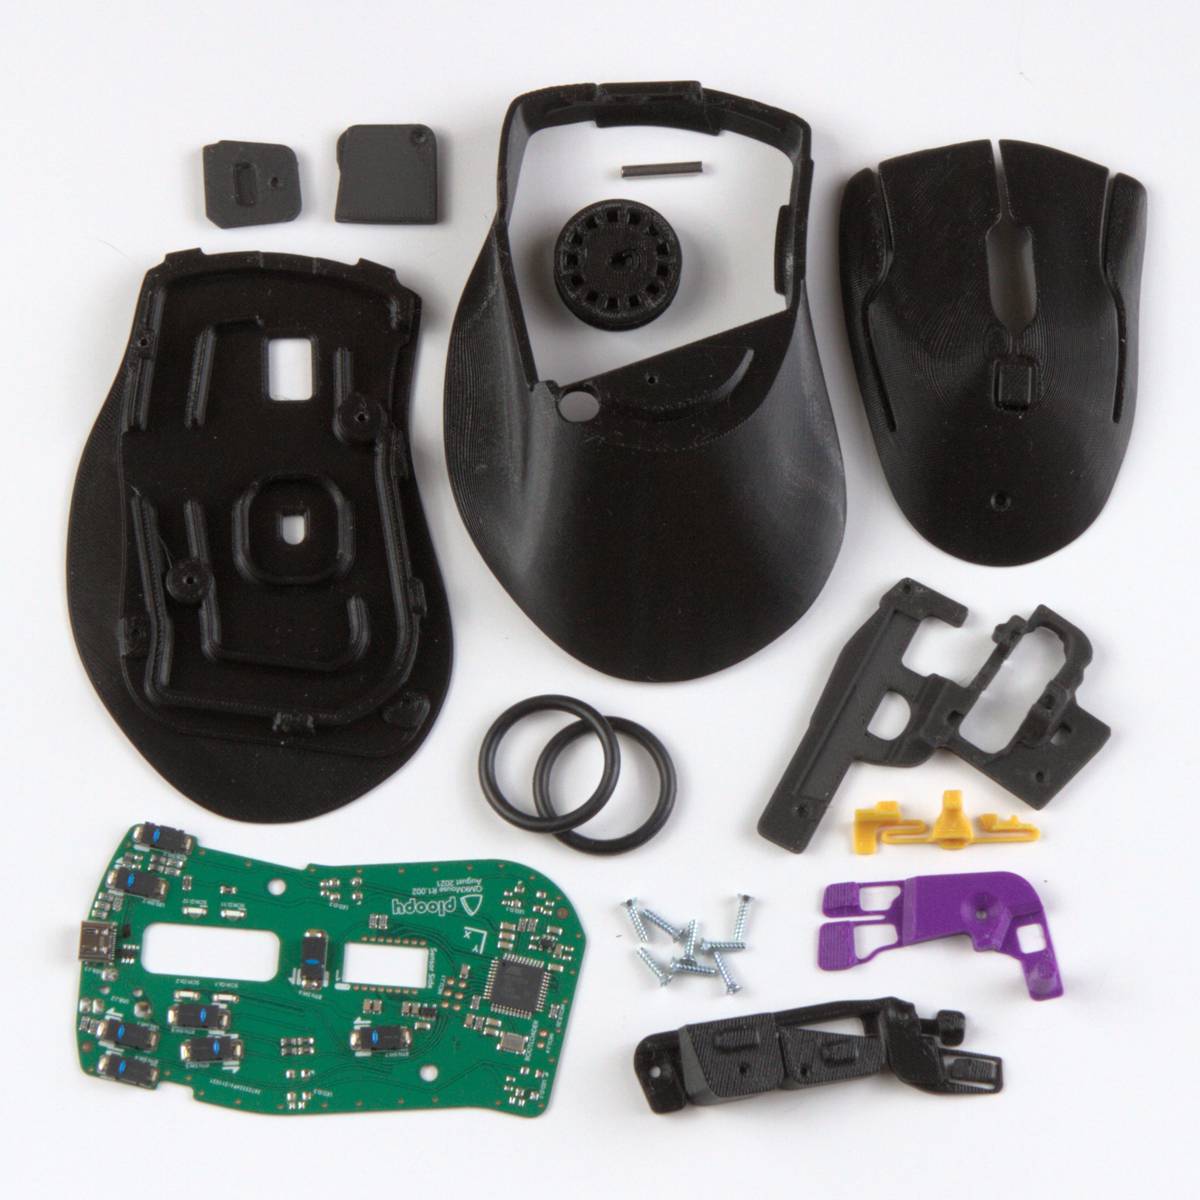
Included with every Mouse (Full Kit)
3D-printed parts
- Top
- Body
- Base
- Cage
- Right Buttons
- Scroll Wheel
- Scroll Wheel Spring
- Side Buttons Base
- Back Button
- Forward Button
Electronics
- PCB, programmed and fully tested
- PMW-3360
- PMW-3360 optic
Hardware
- 8x No. 2 x 3/8″ flat-head plastic screw
- 1x 3mm x 18mm metal dowels
- 2x 213 O-ring
- 4x UHMW low-friction skates
You can find full assembly instructions on our Github wiki.
Assembly
To complete the assembly, you’ll need:
- A Phillips head screwdriver (#1 or similar size)
- A soldering iron
- Solder
If you do not have these tools, you will not be able to complete the assembly process.
We recommend watching this video about soldering prior to starting the soldering work necessary to assemble this kit. It correctly shows how to avoid common issues like cold joints, excessive or not enough solder, and how and when to use flux. We also recommend watching this video about desoldering, which provides additional educational background on the desoldering process.
This kit requires a significant amount of electronics assembly expertise to assemble correctly. If your device is non-functioning as a result of inadequate assembly, we cannot provide warranty service to you. For more information, please see our warranty, as well as this primer on our warranty and testing processes.
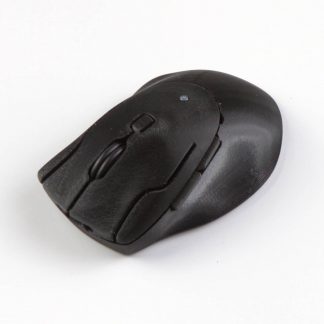
Technical specifications
- Sensor is a Pixart PMW3360 (DPI programmable up to 12,000)
- Button switches are Omron D2LS-21
- Weight is 109 grams
- Refresh rates of 1,000 Hz
- Length: 5.5″ (14cm)
- Width at widest point: 3.5″ (9cm)
- Height at highest point: 1.5″ (4cm)
Default button configuration
- Left, right and middle click are standard
- The two buttons by the thumb are “forward” and “back”
- The left-left button performs a “copy”
- The right-right button performs a “paste”
- The small button in the middle of the top performs a DPI change
The Mouse requires a standard USB-A to USB-C cable to be used. If you’ve already got one that you like, it’s not necessary to purchase another one.
Default firmware
The Ploopy Mouse ships with QMK preloaded. Currently, we’re shipping with version 0.10.48.
Want to load new firmware onto your Ploopy Mouse? Loading new firmware is fast and easy, and doesn’t require anything except your computer. Check out our guide here. It includes a full set of instructions on loading new firmware. You can load new firmware with tools like QMK Toolbox or the QMK Configurator.
Modding
Planning on modifying your device? Read through the official Modder’s Guide first for helpful tips!
Checkout page not working?
Sometimes, ad-blocking software will interfere with the checkout process. It’ll result in the checkout page hanging forever after you’ve entered your payment information. If this is happening to you, try temporarily disabling your ad-blockers.